- Published on
Lighting and Photography
Photography is using light to make pictures. It stands to reason that if you want to take a good photo, then you need to understand lighting. Speaking from my own experience, and with the caveat that I’m still learning and I have only ever used a digital camera, here are some things to keep in mind.
Types of Lighting
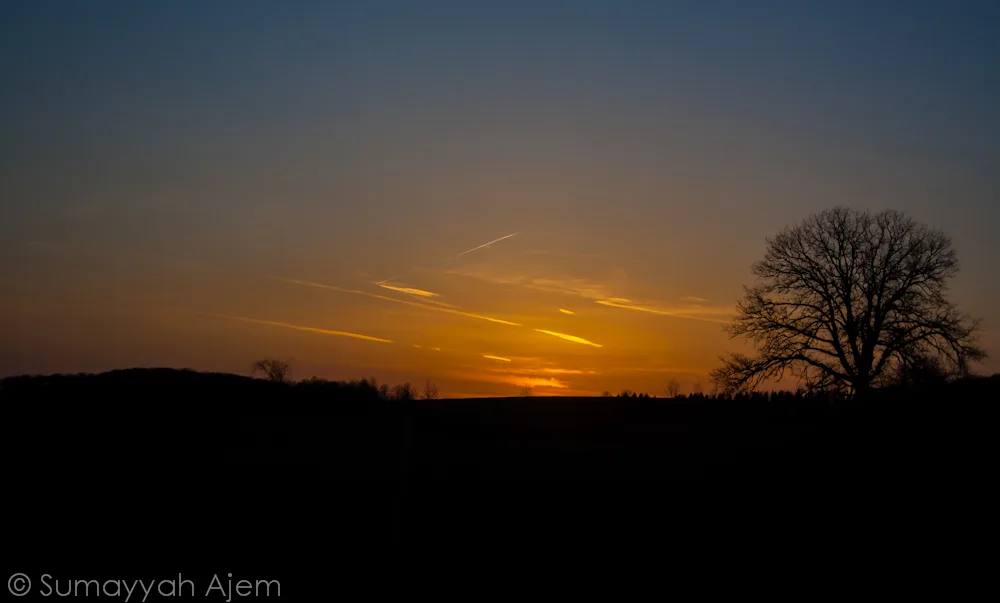
Sunset/Sunrise: the holy grail of light for photography. This light is soft and flattering, giving you a dreamy feel to your photography. The light source (the sun) is not high enough in the sky to give you harsh shadows or strong details, the colours slowly become richer as the sun rises, and the sky looks like someone spilled watercolours over it.

Cloudy: The sun’s light will filter through the cloud layer so it falls evenly and softly. This is called diffusion. Portraits look great when the light is diffused (when the light is not a harsh ray) because it doesn’t highlight the lines and imperfections in human skin. (Which is still a good look if it's what you're aiming for; this is an example).
You can create diffused light by pointing your light source at a wall, a ceiling, or other blank canvas and having your subject face the wall/ceiling/blank canvas. Fabric over or in front of your light source also diffuses light, but please be aware of fire hazards.
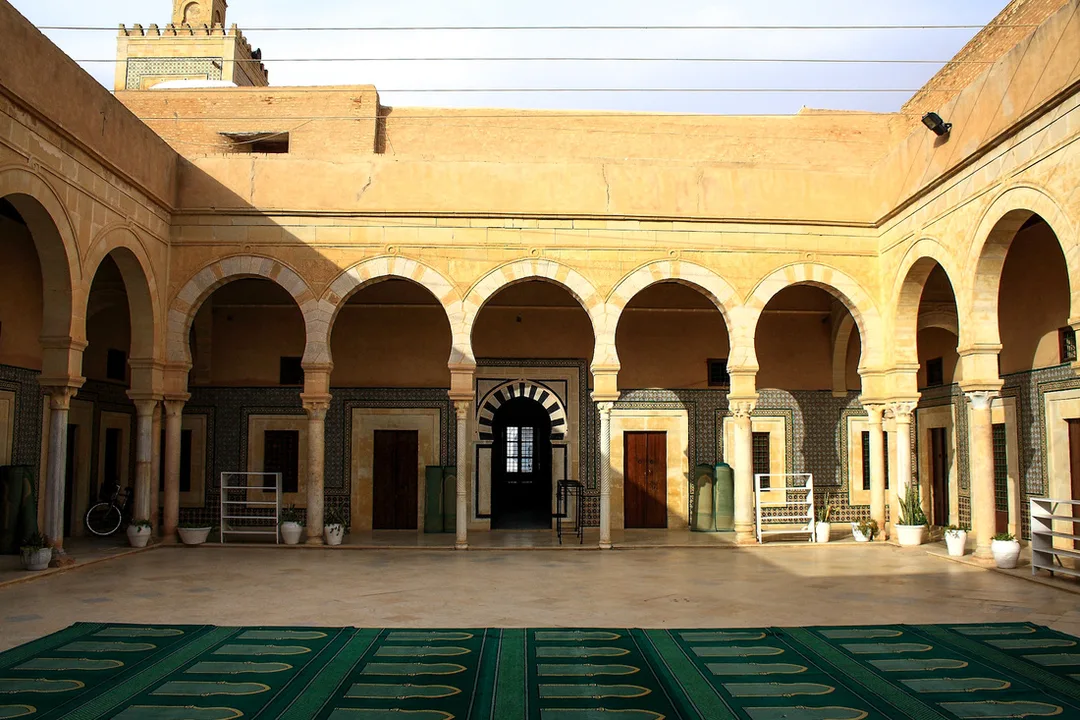
You can create diffused light by pointing your light source at a wall, a ceiling, or other blank canvas and having your subject face the wall/ceiling/blank canvas. Fabric over or in front of your light source also diffuses light, but please be aware of fire hazards.

Notice the curtains? Strong sunlight from outside filtered through the gauze to create a lovely, even flow of light.
The farther away the light is from the subject, the more diffused the light, but the lower the power of the light. This can cause your camera to compensate by having a slow shutter (I'll talk more about what that means later).
Another type of cloudy light is when the sun’s rays are bleeding through cloud breaks. A portrait taken at the right moment can make your subject look like s/he is about to ascend to heaven, or that s/he got smacked in the face with a spotlight. It’s a tricky light to manoeuvre around, and I use it mostly for landscapes, sky shots, or architectural photos.
Another type of cloudy light is when the sun’s rays are bleeding through cloud breaks. A portrait taken at the right moment can make your subject look like s/he is about to ascend to heaven, or that s/he got smacked in the face with a spotlight. It’s a tricky light to manoeuvre around, and I use it mostly for landscapes, sky shots, or architectural photos.
Notice the angle of light as it slipped between clouds...
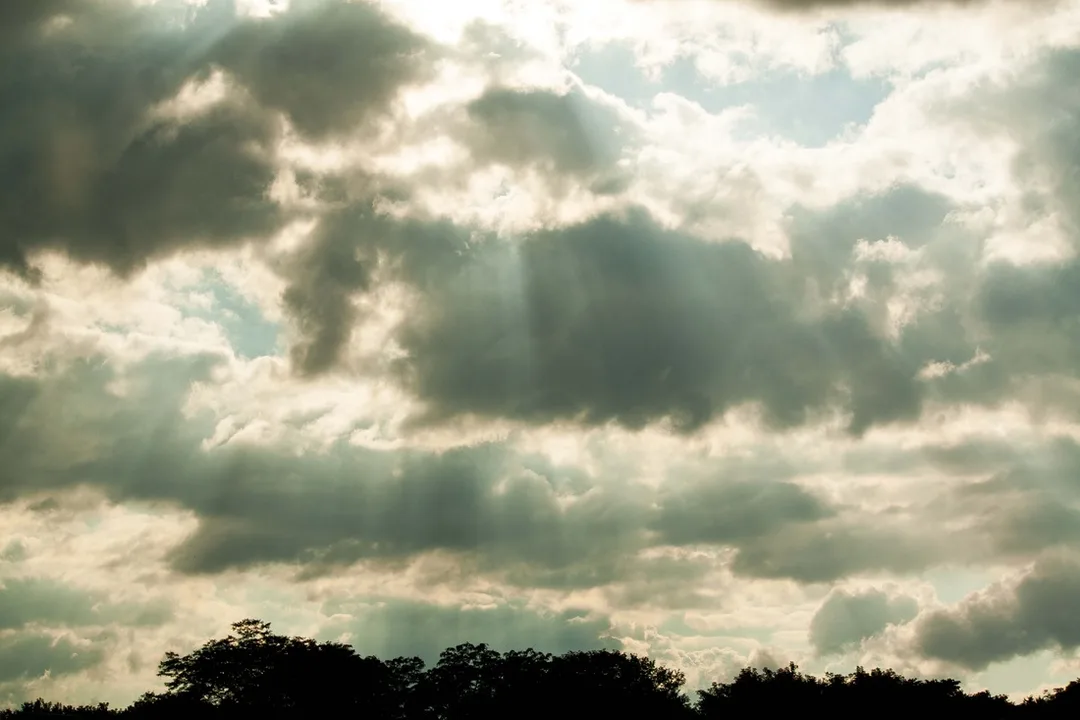
Fun fact: these are 'crepuscular rays', but most people call them 'rays of God'.
3. Midday: This is strong lighting, because the sun is at its highest and is beaming down with all its might, creating harsh shadows if your face is not tilted at the right angle. Your model might end up squinting if you position them with the sun facing them and behind you, so keep that in mind. Dramatic shadows might be the look you’re going for, in which case, this is a great light. If you want to alleviate the shadows on a person’s face cast by this kind of light, use flash.
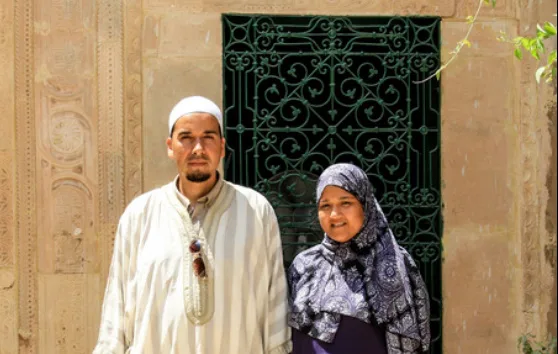
My parents being cute, but squinty.

Hey look, shadows! Also, a better (but not great) use of midday light.
4. Indoor: This is typically when light isn’t that bright. Your photos might turn out blurry because the shutter is staying open longer. This is because it's trying to capture the most amount of light. Note that what a camera considers to be too dark is not what the human eye considers to be too dark. If you take a photo and end up with blurry photos or a camera that seems frozen for a few seconds, that usually means the lighting is low, and with some practice you'll be able to sense this yourself before you whip out your camera.
In this situation, you can either change the light, or adjust the way you work with the camera. If you go with the second option, then here are a few tips:
In this situation, you can either change the light, or adjust the way you work with the camera. If you go with the second option, then here are a few tips:
- Keep your camera (and yourself) steady: use a tripod, brace yourself against a wall, brace your camera on something solid, or adjust your stance. Here are some tips on how to hold your camera. Even slight tremors in the hands impact the sharpness of your photo (which could be a look you’re going for).
- Use flash: this adds light to your photo which means your camera shutter doesn’t need to stay open so long in order to absorb the light. This might not turn out all that nice, so bring a lamp near to your camera or the subject of the photo.
- Be aware of colour: I’m talking about light colour. Sometimes indoor photos end up looking yellow. Change your white balance setting (most cameras have one) to tungsten, or adjust in post-processing. Yellow photos make the photo look warm; blue makes the photo look cold. This can be great depending on what mood you’re trying to capture (think: birthday candles).

Yellow, warmer lighting. (Which doesn't work here).

Colder, bluer lighting. (Which does work here).
And there you go! You've just taken a crash course in the basics of lighting and photography. Got any questions/concerns/I-don't-know-whats? Then drop a comment below! Thanks for reading!
0 Comments